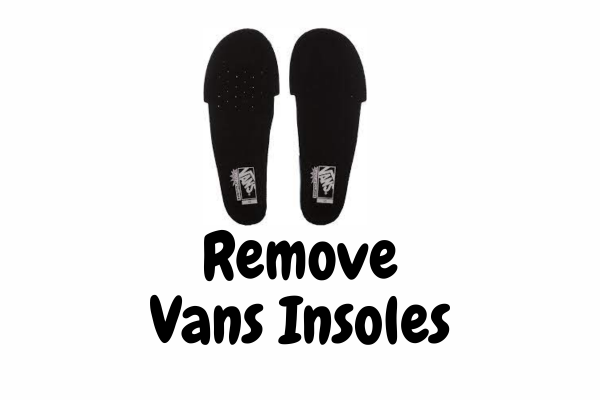
Remove Vans Insoles is very easy But when it comes to our beloved sneakers, we often overlook the unsung heroes—the insoles. These cushioned layers play a crucial role in our daily comfort, absorbing shock and supporting our feet. But what if you could customize that comfort?
What if you could elevate your shoe game by simply removing those insoles? Buckle up, shoe enthusiasts—we’re about to embark on an insole adventure!

Why Remove Vans Insoles?
The Quest for Perfect Fit: Why We Tackle Insoles
Picture this: you slip into your trusty Vans, ready to conquer the day. But wait—something’s amiss. Maybe it’s a twinge of discomfort, a subtle reminder that your feet deserve better. Or perhaps your insoles have seen better days—they’ve weathered countless steps, hikes, and dance-offs. Fear not! Here’s why you might want to remove those Vans insoles:
Customization: Some of us crave personalized comfort. Maybe you have custom orthotics or gel inserts yearning for a cozy home inside your shoes. Removing the stock insoles opens up a world of possibilities.
Hygiene Heroes: Let’s face it—our feet sweat. A lot. And over time, insoles can become breeding grounds for bacteria. By remove vans insoles, you gain access to the shoe’s interior, making cleaning a breeze.
Worn-Out Warriors: Remove Vans Insoles is because of the fector like age such as fine wine (or not). If yours resemble a crumpled treasure map, it’s time for an upgrade. Fresh insoles mean better support and less foot fatigue.
Mastering the Art: Remove Vans Insoles in 5 Simple Steps

1. Untie the Knots
Before we dive into insole removal, untie those laces. It’s like giving your shoes a little breathing room. Plus, laces out mean better access to the insoles. So, channel your inner shoelace whisperer and let those knots loose.
2. Heel Lift-Off
Now, focus on the heel. Inside your Vans, gently lift the insole from the heel end. Imagine you’re lifting a delicate flap—no brute force required. But what if your insoles are glued down? Fear not! Grab a butter knife (or any thin object) and assist the liberation. Patience, grasshopper.
3. The Full Detach
Keep pulling. Slowly. Methodically. The insole should yield, revealing its secrets. Be gentle; we don’t want any shoe drama. Once it’s fully detached, admire your handiwork. You’re practically a footwear archaeologist.
4. Shoe Interior Spa
With the insoles out, seize the moment. Clean the shoe’s interior. Dust off crumbs, lint, and forgotten dreams. A clean canvas awaits your next adventure. Pro tip: If you find a lost sock, consider it a bonus.
5. Reuse or Replace
Decision time! Inspect those insoles. Are they still bouncy, odor-free, and supportive? If yes, pat yourself on the back—you’re an eco-warrior. Reuse them! If not, explore new insoles. Your feet deserve the royal treatment.
Insole Etiquette: Dos and Don’ts
- Avoid Rough Handling: Insoles are sensitive souls. Treat them kindly during removal. No insole wrestling matches, please.
Inspect for Wear: Like a detective, examine your insoles. Cracks, creases, or faded logos? Time for an upgrade.
Comfort Chronicles: Remember, it’s all about comfort. Whether you stick with the original insoles or venture into gel-infused realms, prioritize your happy feet.
Why Replace Insoles?
- Comfort: New insoles provide better support and comfort, especially if the original ones are worn out.
- Customization: You can choose insoles tailored to your needs—extra cushioning, arch support, or orthotics.
Remember, not all Vans shoes have removable insoles, so check the product description before purchasing. Happy stepping! 🚶♂️👟
Replacing the insoles of your Vans shoes is a straightforward process. Let’s dive into the steps:
Loosen the Laces:
- Begin by loosening the laces on your Vans shoes. This step ensures better access to the insoles.
Remove the Insole:
- Use your hands to gently lift the insole from the heel area. If the insole is glued down, you can use a flathead screwdriver to help pry it out.
- Be patient and gentle to avoid damaging the insole or the shoe lining.
Clean the Insole:
- Once the insole is out, take a damp cloth or brush and clean it. Remove any dirt or debris that may have accumulated over time.
Replace or Reuse:
- Now comes the decision: Do you want to reuse the existing insoles or replace them?
- Reuse: If the insoles are still in good condition, you can put them back in.
- Replace: If they’re worn out or you want better cushioning, consider replacing them with new insoles.
- Now comes the decision: Do you want to reuse the existing insoles or replace them?
Insert the New Insoles:
- If you’re using new insoles, slide them into the shoe. Make sure they fit snugly and line properly.
Lace Up and Test:
- Finally, re-lace your Vans shoes and take them for a test walk. Feel the difference with fresh insoles!
Remember, not all Vans shoes have removable insoles, so check the product description before purchasing. Happy stepping! 🚶♂️👟
Stepping Forward: Your Insole Journey
Congratulations! You’ve mastered the art of Remove Vans Insoles. Your Vans salute you. As you slip them back on, think of the adventures ahead—the miles you’ll tread, the dances you’ll groove, and the memories you’ll create. And remember, it’s not just about shoes; it’s about how you step through life.
So go forth, fellow shoe whisperer. Customize, clean, and conquer—one insole at a time. 🌟👟


I am truly thankful to tthe owner of this web site who has shared this
enormous paragraph at here. https://www.waste-Ndc.pro/community/profile/tressa79906983/